Bulk Load Reports
You can also generate multiple Load Reports at once from Load Entry 3. Multi-select load histories (using Shift-click and Ctrl-click to select as you would in Windows) and click the Load Report button to launch a process to produce Load Reports directly to PDF format.
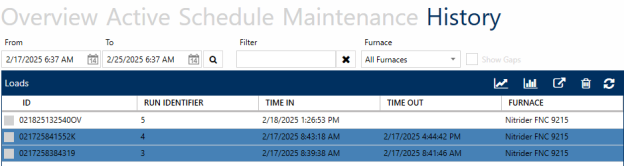
Alternately, multi-select the desired load histories and click the Run Report button after selecting Load Tracking from the accompanying dropdown.

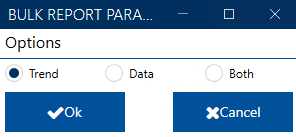
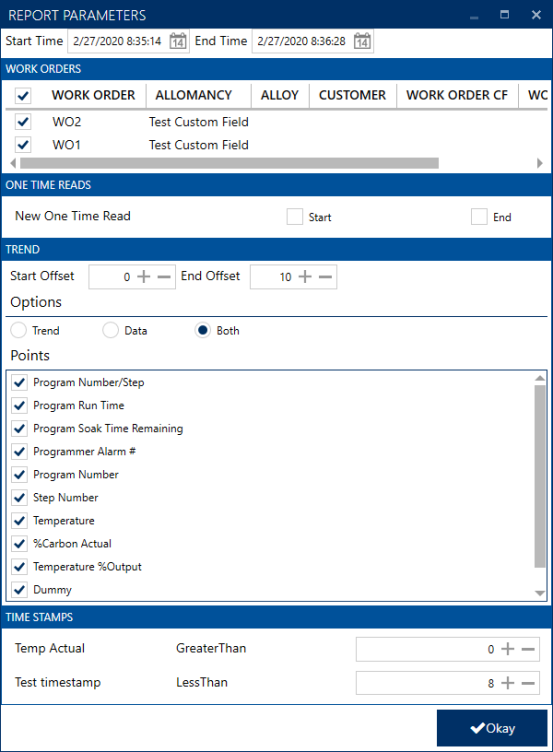
The Bulk Report Parameters screen will then appear. Here you can choose for the reports to include the trend image, the tabular data, or both. (This can be changed per report on a later screen.)
Next, on the Selected Historical Load Tracking screen, you will see the loads you selected, the Run ID of that load, how many work orders that are associated with the load (and are auto selected to run with the report) and an option to edit the load reports.
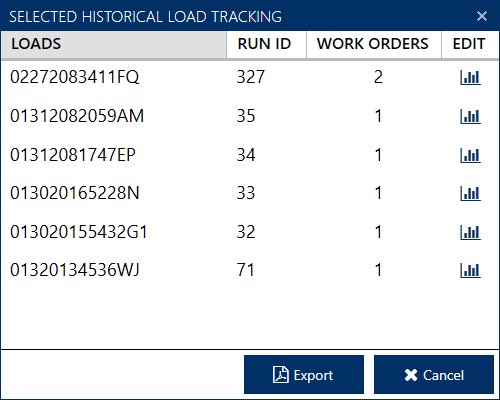
The Edit buttons will bring up the Report Parameters screen which allows you to deselect Work Orders. Also, here you can set Trend, Data, or Both for each specific report.
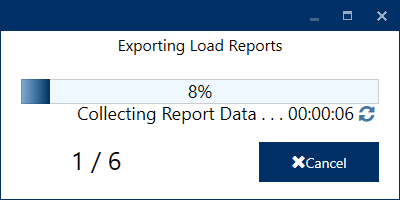
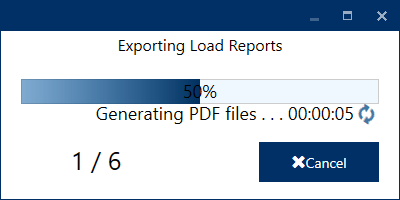
Once everything is set as desired, click Export to begin the report generation process.
The generation process goes through two main phases: Collecting Report Data and Generating PDF Files.
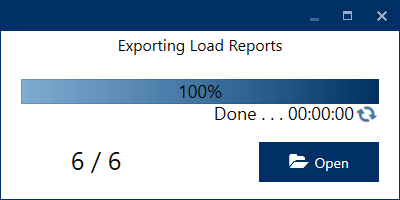
Once complete, you can click Open to view the file location of the reports.
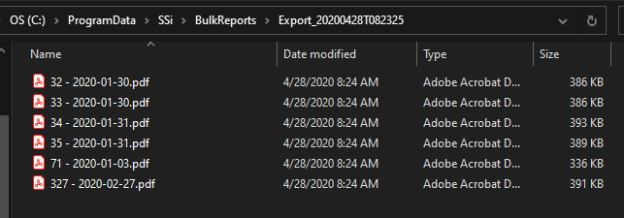
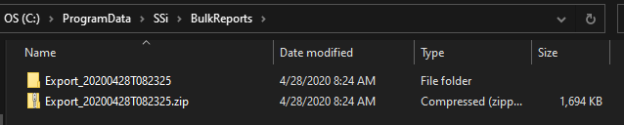
Windows Explorer will open to the BulkReports directory where you can find the export folder and also a zip of that folder. The export folder is named with the full data and time of when the reports were generated.
Within the folder the user will find the report PDFs.